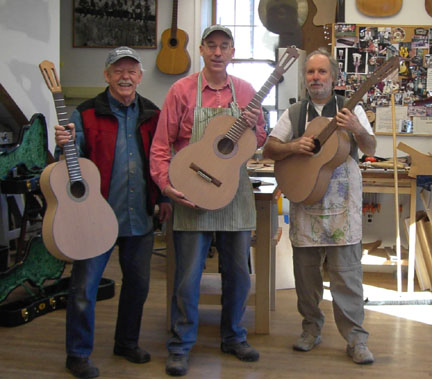
I'll edit the commentary some more, but these are what few pics I have of
the class on building a classical guitar. I was playing catch-up the whole
time and reluctant to take the time
to take pictures. Yeah, I know... silly!
 |
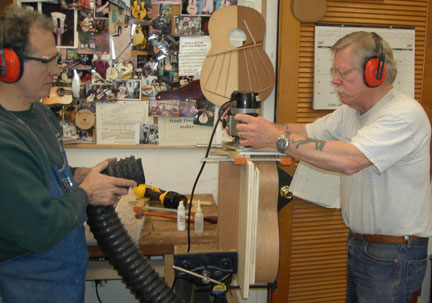
Shaping the sides. As with the steel string, the sides only
get a preliminary bend leaving the major bending to the Fox-style bending
machine. |
 |
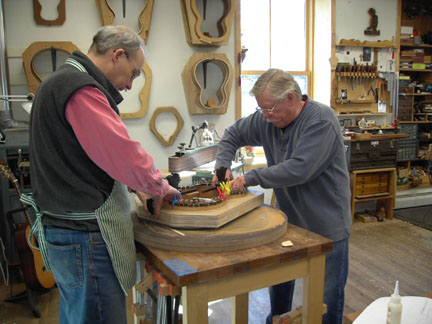
Cutting and fitting braces while the sides cook in the bender. Missed
all the jointing of the top & back but it was the same as the
steel string. |
 |
Here's the first side in the mold ready to be marked for trimming. |
 |
Frank showing Jeff and me how the braces should be shaped. |
 |
Both sides in the mold, ends trimmed and the tail & neck blocks installed
with the glue drying. |
 |
After I got the upper surfaces shaped, Frank showed me how to shape the
sides. Not much material left of the original braces... they're really light!
Btw, the shape of these braces is distinctly different than what Torres
used. |
 |
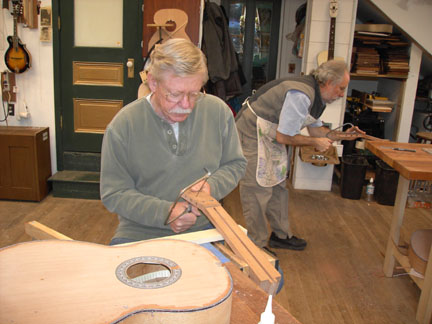
Bill giving me a hand as I shape the rim where the flat section of
the top rests (area of the fingerboard). I had previously shaped the
rest of the rim to a 32' radius.
Note the strip of wood right in front of Bill. It's about 0.19" thick
which provides about the right angle to accommodate fingerboard with
the 1.5 degree neck set. |
 |
More of the same. Bill held his end still and I did all the moving on
this flat disk. |
 |
A couple shots of the bracing after the shaping and sanding was done.
The fan braces are fit over the bridge patch not thru it. |
 |
Frank's design calls for cross braces at the bottom of the 5 fan braces
ala Torres (he did 5- and 7-brace fans). However, to save time, Frank's
prototype left them off.
Frank had a visitor at the shop who played
the prototype right next to me for about 1/2 hour. It sounded so sweet
there was no way I wanted to build my guitar differently. So I left the
end braces off.
When everything was done, my guitar turned out to have
more punch. So the end braces apparently limit the volume. Glad I did
what
I did
just as Bill & Jeff are glad they did their fans the other way. |
 |
Starting to route the centerline slot. |
 |
Routing the center slot of the neck. If you look closely you'll see
that it's a little off. Should have been right in the middle of the neck
blank. Not sure how this happened... there was a lot of time
spent setting the guide.
Unlike the typical classical, Frank uses a double-acting truss rod in
the neck. It guarantees that you get precise neck adjustment. |
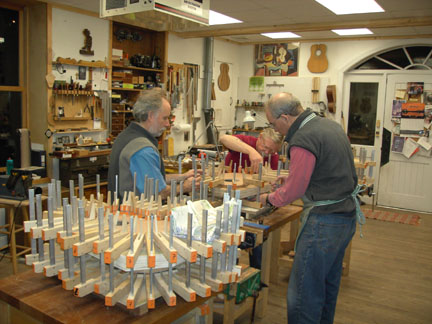 |
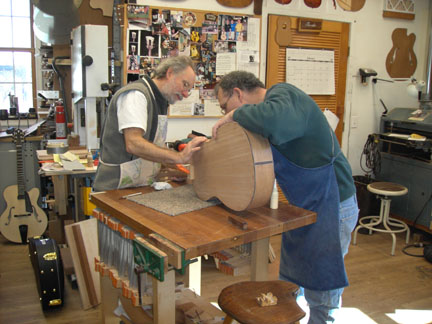
Here's the top going on. I was so slow that there were 3 of us putting
it together (note how dark the windows are: probably about 7:00 PM!). |
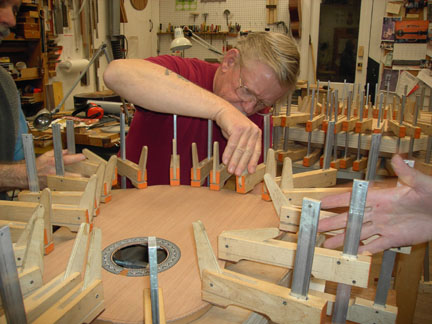 |
More of the same. |
 |
Trimming the overhang. Not too bad here on the mahogany back, but it
was scarey stuff on the redwood top. That stuff cuts like glass and is
unpredictable
how it will respond to the cutter. Every once in awhile you would hear
a shattering sound. Luckily all 3 of us managed to not ruin our tops. A
bad chip-out would have meant some repair... no starting over at this point! |
 |
Fitting the tail graft with its purfling. I had a really nice piece of
spalted maple from the 1930s. It was a salesman's sample that the Martin
company had. Frank had gotten it during one of their many cleanups. |
 |
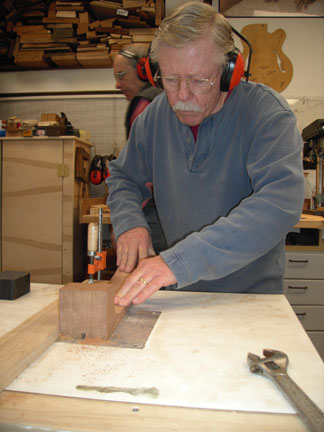
Unlike the steel string class, we had to make our own necks for the
classical (but not the fingerboard). The blank was a little short at the
heel, so we had to stack an additional 3/4" piece at the heel. |
 |
Cutting the headstock shape on the scroll saw. I copied a shape (roughly)
that had been developed by Hernandez. |
 |
Routing the tenon to fit the neck block. Bill was holding the hose for
the dust collector. No talking here or we would have had a mouthful of
chips! :) |
 |
Routing the mortise into the body. Actually, the mortise was already
in the neck block... we just had to clear the rim away from the slot. |
 |
Cutting the slots in the headstock to accommodate the tuners. This didn't
go all that well for me as the blade drifted a lot and no amount of rotational
force would correct it. Really needed to be routed. |
 |
Barely visible here is the double lamination: quilted mahogany over ash
(white). Came out very nice. |
 |
The bridge laying in place. It won't be glued on till after the guitar
has the finish applied.
We used a highly volatile glue (looked like plumbers glue for plastic
pipes but without the purple color) for attaching the purfling & binding.
As you can see, it was incredibly messy. However, it set quickly and cleaned
up
pretty
well.
I
used a scraper
to
get most
of
it
off, but
near
the tail
I let the edge of the scraper drop too close to the face of the top. Scarred
it a bit. Should have been using a curved scraper instead of the straight
edge one! |
 |
Shaping the neck using the neck jig. You can see the gluing caul for
the finger board laying on the work table. |
 |
Jeff working on his neck. He worked his a little thinner than I did mine
and in hindsight his was the better of the 2. |
 |
Here's the body pretty much done: the top & back have been cleaned up
and some of the sanding is done, the neck is installed and fretted, and
you can just make out the 2 holes drilled for the temporary bridge that
allowed us to string-up the guitar and play it. |
 |
Bill has the temporary bridge installed so he can string it up. When
he finished on Sunday, he took his guitar with him and did a French polish.
I saw the pics and it came out great! |
 |
Frank helping Jeff with the neck set. |
 |
We had to take this pic early because Jeff (right) had to leave to attend
his dad's memorial. Bill, however, had been moving right along and was
ready to install tuners etc. The bridge is a dummy to allow the guitar
to be played. It has a couple holes drilled in it to permit temporary attachment.
|
Of course I'm missing several pics which would have described radiusing the
fretboard (much flatter than the steel string), making and installing the nut,
fretting, leveling the frets, installing the temporary bridge, installing the
tuners and stringing up.
We had been keeping track of the tap-resonance of the top through all the
stages. Jeff's and Bill's guitars were about the same, but mine was different.
If you look back at the pics of the bracing, you will see that I departed from
traditional Torres fan by leaving out the bottom braces. I did this because
Frank's shop guitar (his prototype) didn't have them and to my ear had a wonderful
sound. When we checked the tapped resonance of the finished (but unstrung)
guitars, mine was a little lower pitched, but not a lot different. When we
strung the guitars up, though, mine faithfully reproduced the tone I'd admired
so much in the prototype and had noticeably more punch. I was really
glad I'd made the decision!