
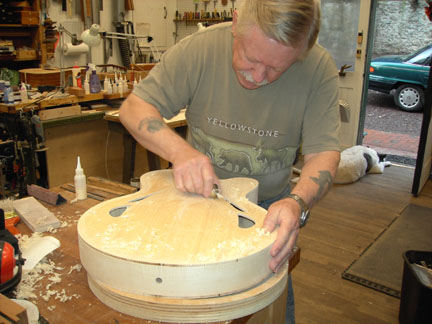
Using some very stiff-backed sand paper (belt material) rolled into a tube to shape the sound holes.
As I mentioned earlier, these sound holes are something shown in Benedetto's archtop book. He refers to them as Lange. I couldn't find a builder by that name in the references I have, but I did identify a player by that name. Perhaps that's the source.

Here I'm fitting half of the X-brace by pulling very thin belt material out from under the brace. Pretty effective way to get it dressed to the exact contour provided you don't lift up at the outside end of the belt material!
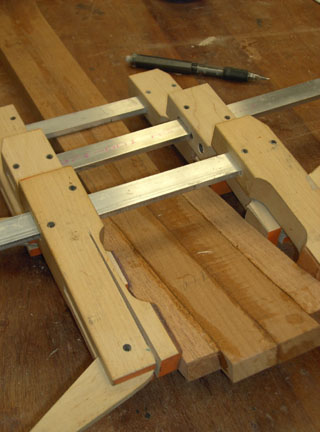
Notice the bearing resting on the table beside the plane. We used that to mark the brace for trimming by pushing a pencil through the center then rolling it along the top plate. This is an OK approximation, at least good enough to trim away excess material to make fitting a little faster, but there's an error in geometry that becomes significant as the radius becomes smaller.


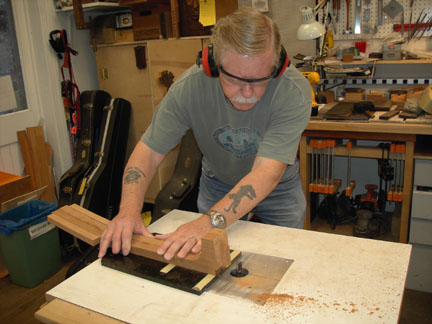
Andy cutting the binding ledge on the back of his archtop. I, of course, had to do the same.
I have a copy of this machine in my shop. Frank built his own, but I wimped out and bought mine from LMII.


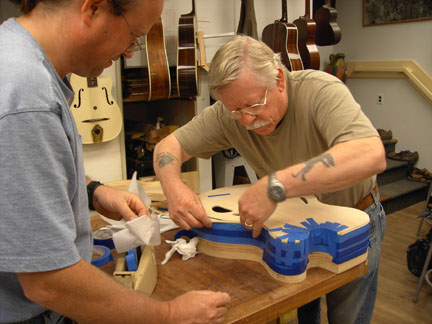
Bindings and purfling going on. We used some really nasty glue to attach the binding. The skin softened and the edge of the binding cut through the skin on my fingertips.
By the time I got to the back my fingers were bleeding enough that I couldn't continue. Andy had to finish setting the binding for me. Thank you Andy! You saved my butt.


Finishing off the mitre. I had to sneak up on it... nibbling away at the mating edges till I got them right. Being off even a little bit was painfully obvious, so it has to be right. So it's fussy work.
Cutting the ledge for the fingerboard extension.
Since the fingerboard isn't attached to the top plate, it needs support by another means. The way this is done is with an extension of the neck out over the top plate. This keeps the fingerboard from flexing (definitely a no-no) and, since it isn't attached to the top plate except for the first 1.5", it allows the top plate to vibrate with the strings.
